
Self-watering Wonderment
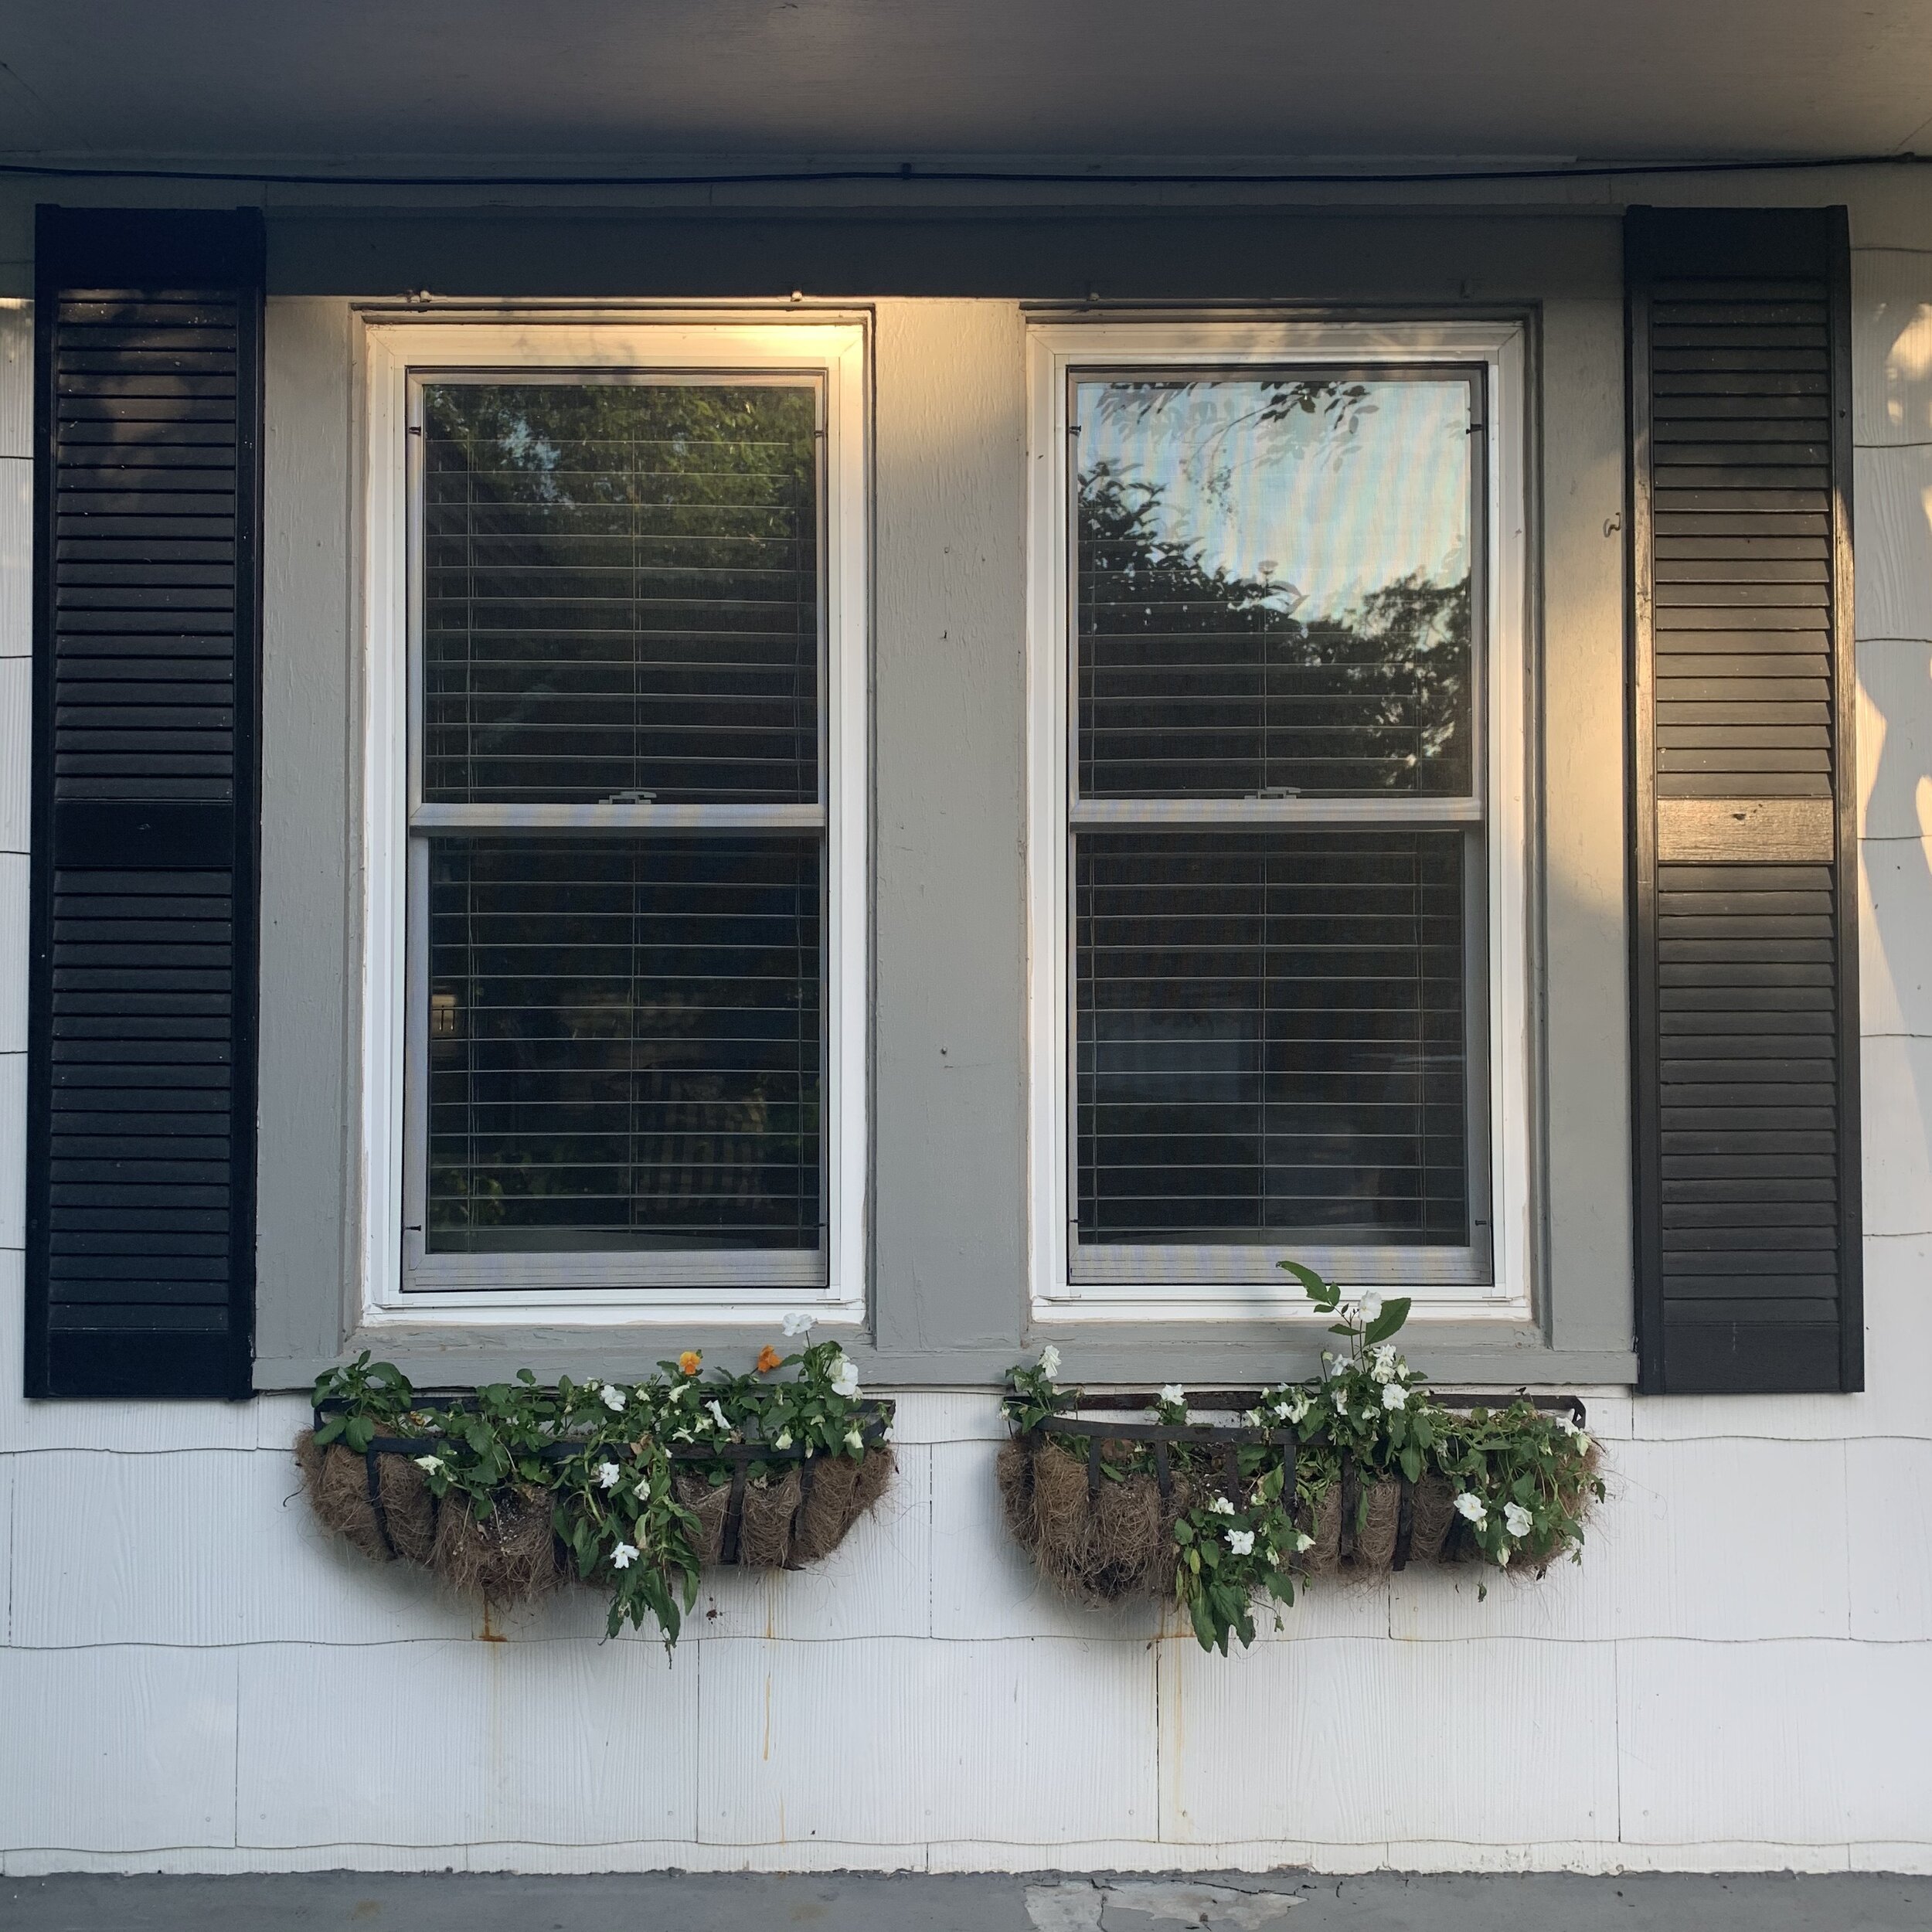
With the crazy busy Spring and Summer we had, I fiiiiinally got the chance to install the two new window boxes I’ve long been dreaming of! For years, I’ve maintained and even replaced (twice!) the metal haystack style that requires a fresh cocoa liner every season. While I loved the look of them, the metal persistently rusting and the water draining through like a sieve became just. too. much.
I had every intention of replacing them in time for beautiful Spring plantings so I searched and searched online ~ knowing I wanted rustproof ✔️, all-weather material ✔️, easy to diy ✔️, and iiiiif it was self watering, well THAT would be a huge bonus ✔️✔️✔️!
I finally found some from Mayne Products that were exactly what I was hoping for! I was even able to order them via the Lowes Home Improvement website and have them shipped directly to our local store for pickup. Just SURE I would have them up in no time, I started stockpiling all my favorite blooms and buds from our suppliers every time I would place orders for Oopsy Daisy. Uh, yeah. You already know, dontcha. Those pretty little 4” and gallon containers got well watered and taken care of…. just still in the containers they went home in! (ever do that??) With Covid, our Garden and Home store was busier than ever and I hardly had time to sleep, much less primp up my own home.
Autumn at the Daisy is off-the-charts, too but I found a couple Sunday afternoons recently to tackle my project. I began by removing the old haystack rusters and cleaning the siding as much as possible.

To securely hold the weight of the new window boxes, I attached scrap 2x6 boards to the studs of the walls. These will not show once the boxes are up and are highly recommended if you have shingle siding like my 1944 cottage has. Once the support boards were secure, I was able to measure and attach the box brackets directly to them.

From that point, it was smooth sailin’! I simply tilted the 5 foot window box up under the top lip of the brackets, straightened it up, and scooched it back into place against the wall until the bottom “feet” of the brackets clicked into their slots.

Bring on the plants!! Hehe - this time I chose from our gorgeous Fall inventory and made sure to mix in some foliage that will go all through Winter. After the mums have served their duty, I will simply pluck them out and pop in some white pansies (maybe even a pine cone or two?) and continue to love them all the way till Spring again! So far, I have been SO impressed! There are reservoirs in the bottom of the window boxes so the water feeds my babies from the roots up! I watered everything in upon planting and have not touched them since - - and that was 10 days ago with temps still flirting with the high 80’s here in North Texas! Considering our ongoing heat and my busy schedule, I *think* I just may have given myself back several hours a week with this update!


Tools used:
Plant list (all purchased at Oopsy Daisy, Denison, TX:
3 one-gallon ornamental white cabbage
2 one-gallon white mums
1 4” white penta
2 4” white angelonia
3 4” white petunia
6 4” white dianthus
4 4” english ivy
2 4” variegated vinca minor
Jemasco Growers Mix soil